Now we will take a look at targeting specific sets of objects. This section expands on Selecting objects, but exclusively involves saving the objects (pointers to the objects) to a variable.
To find out what is at the top level of my image hierarchically speaking (or on the "outside"), I can use
resolveHierarchy()
topLevel = getCurrentHierarchy().getRootObject().getChildObjects()
Alternatively, I could use
topLevel = getAllObjects().findAll{it.getLevel() == 1}
to target everything on "level 1", the “highest”/”outer” level. To get most of my cells inside of another object, I could target level 2.
oneLevelDown = getAllObjects().findAll{it.getLevel() == 2}
And so on. In cases where you know you only have one possible object, and you want that object, not a list of one objects, you can use "find" instead of "findAll." "find" will always return a single object, the first one the method encounters, even if there are two that meet the criteria!
Lists of objects can also be generated using the same methods as before, like getAnnotationObjects, but I can also throw in measurement controls using findAll.
largeNuclei = getCellObjects().findAll{ measurement(it, "Nucleus: Area") > 60 }
If I wanted to remove everything except the large nuclei, I can combine an adjustment to that logic, the ! sign, to make it NOT large nuclei, then remove them.
notLargeNuclei = getCellObjects().findAll{ !(measurement(it, "Nucleus: Area") > 60) }

removeObjects(notLargeNuclei, true)
The same cells could be chosen by changing the greater than sign to less than or equals ( <= )
The true in the removeObjects line indicates that objects inside of the objects being removed should remain. The most obvious way to demonstrate that would be to target the annotations.
If there are cells within your annotations, try
removeObjects(getAnnotationObjects(), true)
Then reload your objects and try
removeObjects(getAnnotationObjects(), false)
The logic can be made as complex as you might want. Some common logic symbols include:
Not !
Equals ==
And &&
Or ||
And using several of those, we can get:
roundishMidSizedNuclei = getCellObjects().findAll{ !( (measurement(it, "Nucleus: Area") > 80) ||  (measurement(it, "Nucleus: Area")  < 20) ) && measurement(it, "Nucleus: Eccentricity") <0.5 }

roundishMidSizedNuclei.each{
    it.setPathClass(getPathClass("Normal"))
}

getPathClass("Normal").setColor(getColorRGB(255,255,255))
fireHierarchyUpdate()
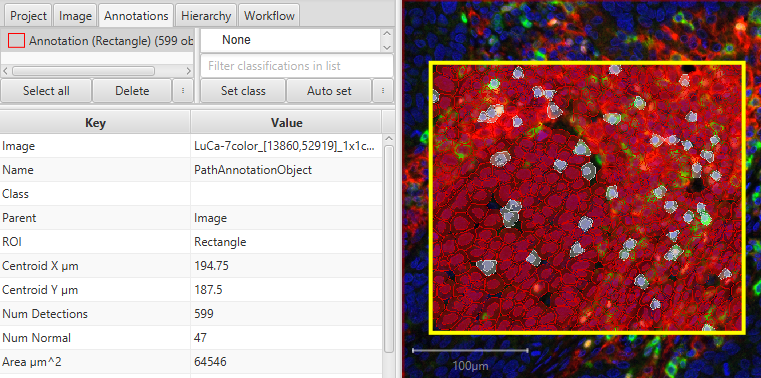
After running the above script, a group of unclassified cells should have some cells reclassified to “Normal” and recolored white.
There is a bit to unpack there, but to spell it out in words:
roundishMidSizedNuclei = Get all of the cells, but pick out the ones that:
do NOT have an area of greater than 80 OR less than 20 square microns
that means they have an area of between 20 and 80 square microns
AND have a eccentricity of less than 0.5
they are somewhat roundish. Higher eccentricity values indicate less round
The cells that meet those criteria are collected into the roundishMidSizedNuclei list.
Next, cycling through that list, each cell is assigned the class "Normal". First the class is created from the String "Normal", and then that class is used to set the class of the object. The class assignment lines could also have been written out as:
//normal is now a variable that contains a class with the name "Normal"

normalClass = getPathClass("Normal")

roundishMidSizedNuclei.each{

    it.setPathClass(normalClass)

}
Finally, we can set the color of that class to white (255,255,255), and fire an update that refreshes the visualizations of the cells. Without the fireHierarchyUpdate(), you may see that the recoloring of the cells does not show up at differing amounts of zoom.
There are a few other logical checks you can use when choosing objects.
something.isDetection()
something.isCell()
something.isTile()
something.getROI().isArea()
.getROI().isArea() can be useful when you want only area annotations and not Points or Lines, while isTile() can be useful if you have both cell objects and non-cell detections. I have used isTile() to select only subcellular detections, for example. !something.isCell() might work similarly in that case. Note that these work for SINGLE objects, not entire lists of objects.